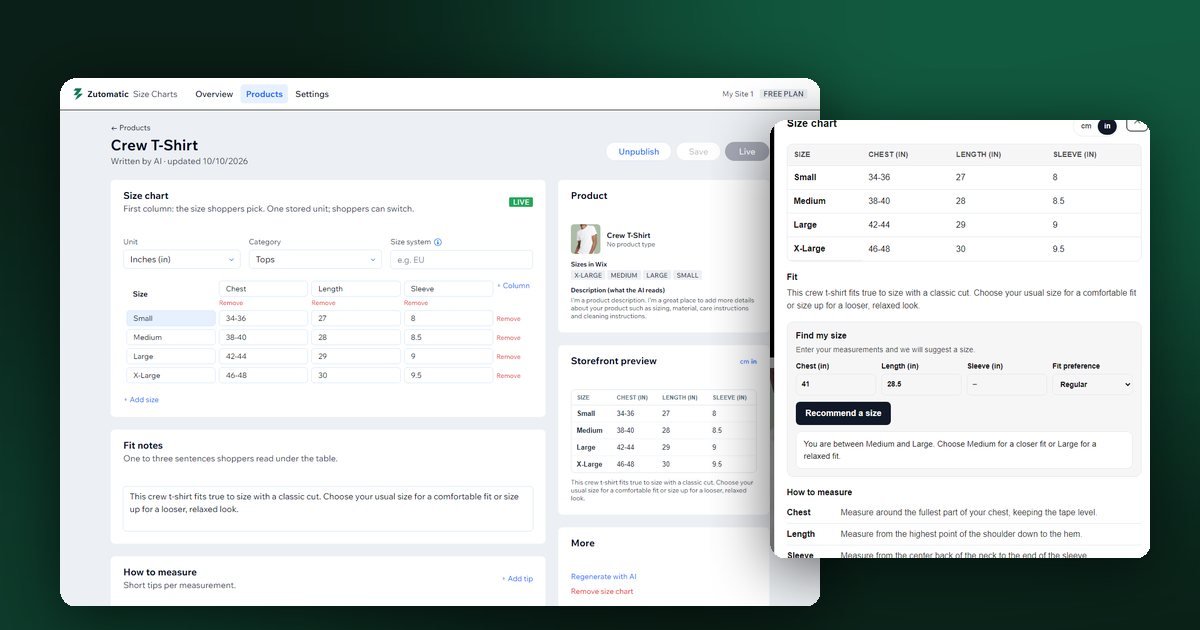
Short answer: tell shoppers whether your numbers are body or flat garment measurements, measure four zones on a real sample (chest width, body length, shoulder width, sleeve length), state how the cut & fabric stretch behave, and never recommend a size from unverified numbers.
When a shopper isn't sure whether Medium or Large will fit, one of two costly things happens: they abandon the cart, or they bracket—buying both Medium and Large with the plan to send one back. Generic charts copied from a supplier sheet rarely stop this because shoppers don't know if "Chest 100 cm" is their own chest or the shirt laid flat.
1. Body chart vs. flat garment chart
A body chart lists the body dimensions a size is made for: "Medium fits a 96–100 cm chest." A flat garment chart lists the physical cloth laid flat on a table: "Medium measures 53 cm across the chest from armpit to armpit."
Both are useful, but mixing them up is a common cause of wrong-size orders:
- A shopper who measures their favourite t-shirt flat gets 53 cm across the chest.
- A shopper who wraps a tape around their chest gets 98 cm.
- The difference between
98 ÷ 2 = 49 cm(half-body) and53 cm(flat garment) is 4 cm of ease—roughly one full letter size.
Always label which one your table shows, and if you want shoppers to compare against a garment they already love at home, give them flat garment measurements.
| Garment & cut | Typical half-chest ease added to half-body | Example (98 cm body chest → flat width) |
|---|---|---|
| Slim-fit t-shirt | +2.5 to +3.5 cm | 51.5 – 52.5 cm pit-to-pit |
| Regular crew-neck tee | +4.5 to +5.5 cm | 53.5 – 54.5 cm pit-to-pit |
| Relaxed / boxy tee | +7.0 to +9.0 cm | 56.0 – 58.0 cm pit-to-pit |
| Hoodie / sweatshirt | +7.0 to +10.0 cm | 56.0 – 59.0 cm pit-to-pit |
2. The four flat measurements that decide fit
For tops, shirts, hoodies, sweaters and jackets, four flat measurements in centimetres explain almost every fit complaint:
- Chest width (pit-to-pit): lay the garment flat, smooth out wrinkles without pulling, and measure straight across 2 cm below the armhole seams.
- Body length: measure from the highest point of the shoulder (right where the collar seam meets the shoulder) straight down to the bottom hem.
- Shoulder width: measure straight across from the left shoulder seam to the right shoulder seam.
- Sleeve length: for long-sleeve items, measure from the outer shoulder seam down to the end of the cuff.
3. Measuring a sample from a phone photo
Don't have a tape measure on hand? You can measure a flat garment from a single overhead phone photo using a standard sheet of paper (A4: 21.0 × 29.7 cm, or US Letter: 21.6 × 27.9 cm) as a geometric scale reference:
- Lay the garment flat on a floor or table with contrasting colour.
- Place a flat A4 or US Letter sheet next to the garment on the same surface (not on top of a thick fold).
- Take one photo looking straight down from chest height.
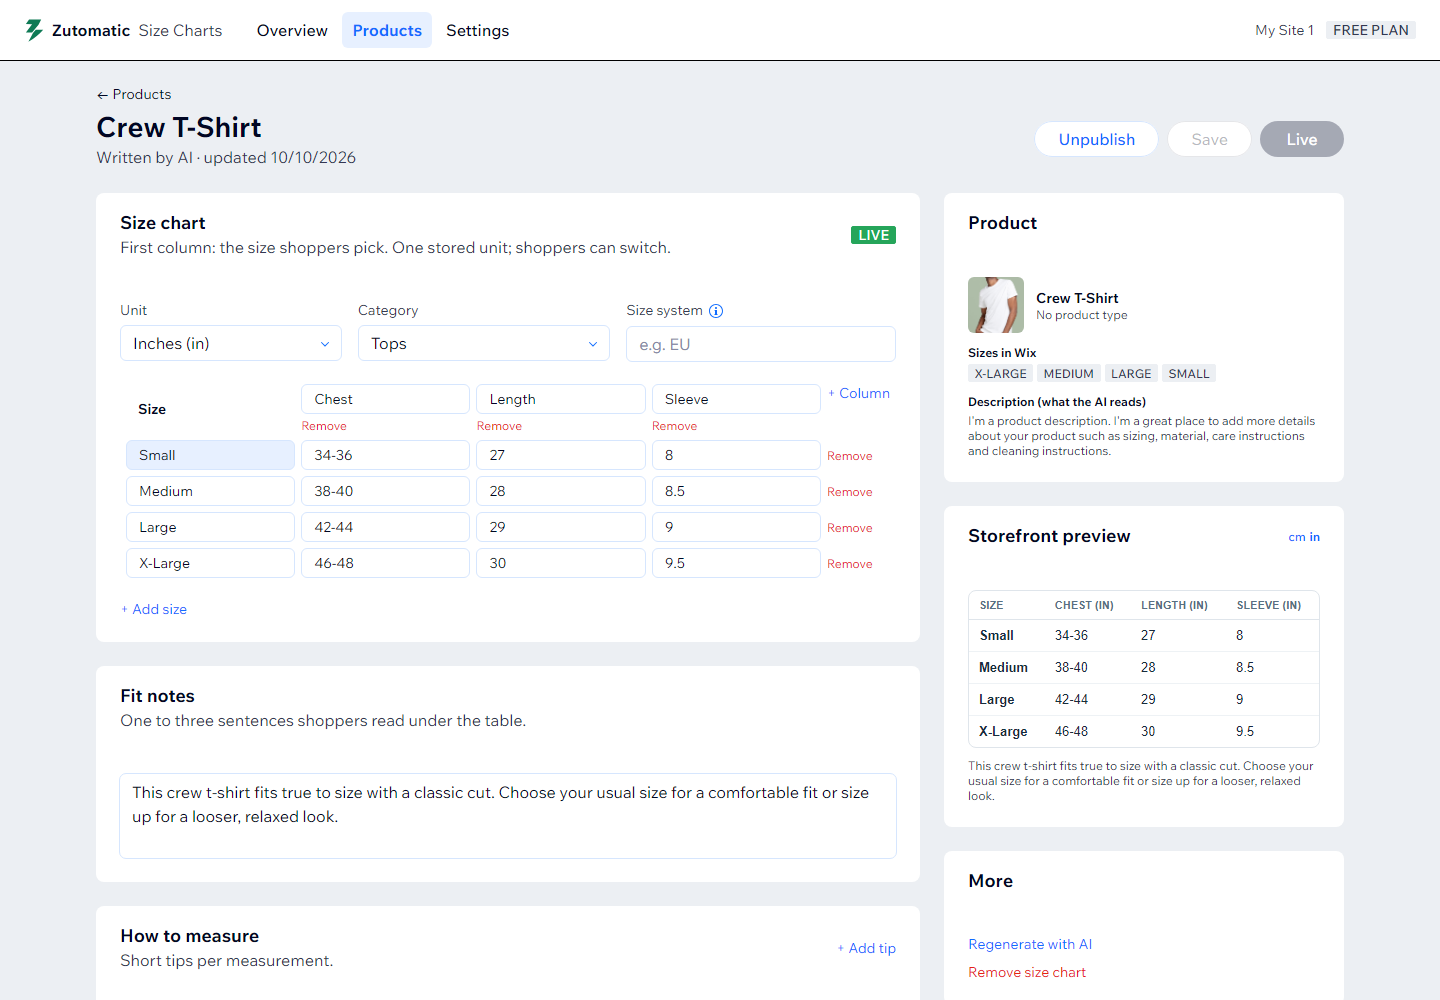
- In the Zutomatic Size Charts dashboard on the Fit plan, tap the four corners of the paper and the landmark points on the garment. Perspective correction computes the flat measurements in centimetres and shows an estimated margin of error next to them, so you can re-take a photo that came out too rough. On Fit, shoppers can measure a favourite shirt the same way on the product page.
Garment photos stay in the browser—only the resulting numbers in centimetres are saved to your chart.
4. Why fit recommendations must require verified numbers
AI is great at drafting the initial structure of a size chart from your product's size options (S, M, L, XL) and writing clear measuring tips in your store's language. But an AI model has never measured your supplier's actual cut.
That is why Zutomatic Size Charts follows one strict rule: AI-generated numbers never drive a fit recommendation.
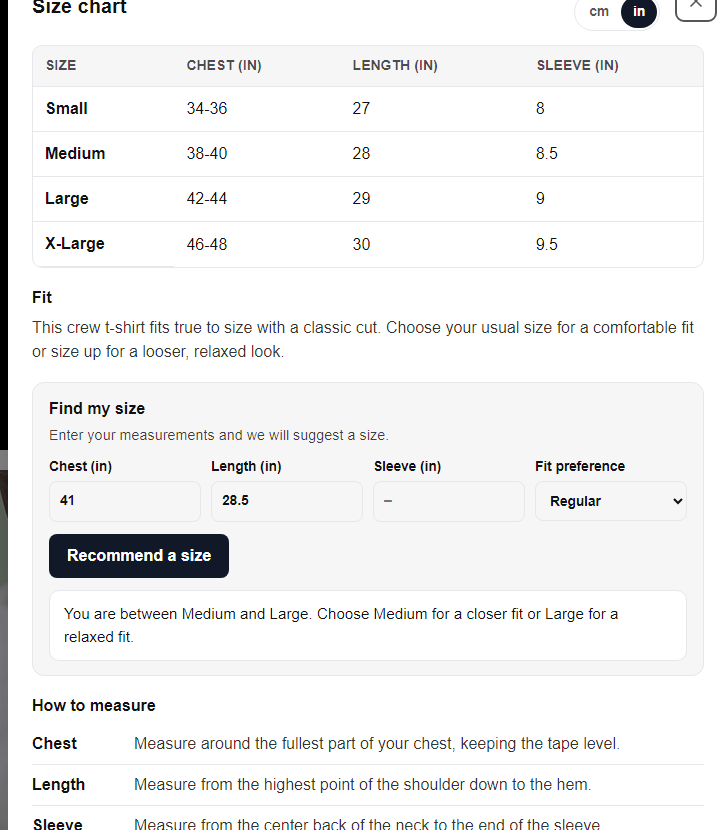
- Unverified (AI-drafted) charts show the clean size guide table, fit notes and cm ⇄ in switch so shoppers have a reference.
- Verified charts (where you entered flat measurements, imported a verified CSV, converted a supplier body chart, or measured a sample) unlock size recommendations: on Pro a recommended size with a plain-language explanation, and on the Fit plan also a confidence badge, between-sizes guidance and a zone-by-zone fit map (tight, just right, or loose on chest, length, shoulders and sleeves).
Need a clean table right now? Use our free size chart generator to build a size chart and export it as HTML or CSV, or see how to add a size chart to Wix product pages.